Operate webhook endpoints
Create, test, rotate, archive, and inspect customer webhook endpoints and deliveries. Endpoint state and delivery/replay history are visible without turning…
- Status
- Draft, not yet re-verified
- Who can do this
- Organization owners, Managers
- Required access
integrations.manage- Where in PositiveForm
/settings/developer/webhooks
"Copy for AI" puts the full Markdown of this page on your clipboard. Paste it into ChatGPT, Claude, or any assistant and ask it to walk you through the steps.
Who this is for
This guide is for integration staff creating and inspecting customer webhook endpoints and deliveries.
Before you begin
- Have the public HTTPS destination URL your system will receive. PositiveForm signs every request and never follows redirects.
- Managing webhooks is organization-owner only right now. Everyone else sees Only an organization owner can manage webhooks right now.
- Do not paste signing secrets anywhere outside PositiveForm. You do not supply the secret; PositiveForm generates it and shows it once.
Steps
Create the endpoint
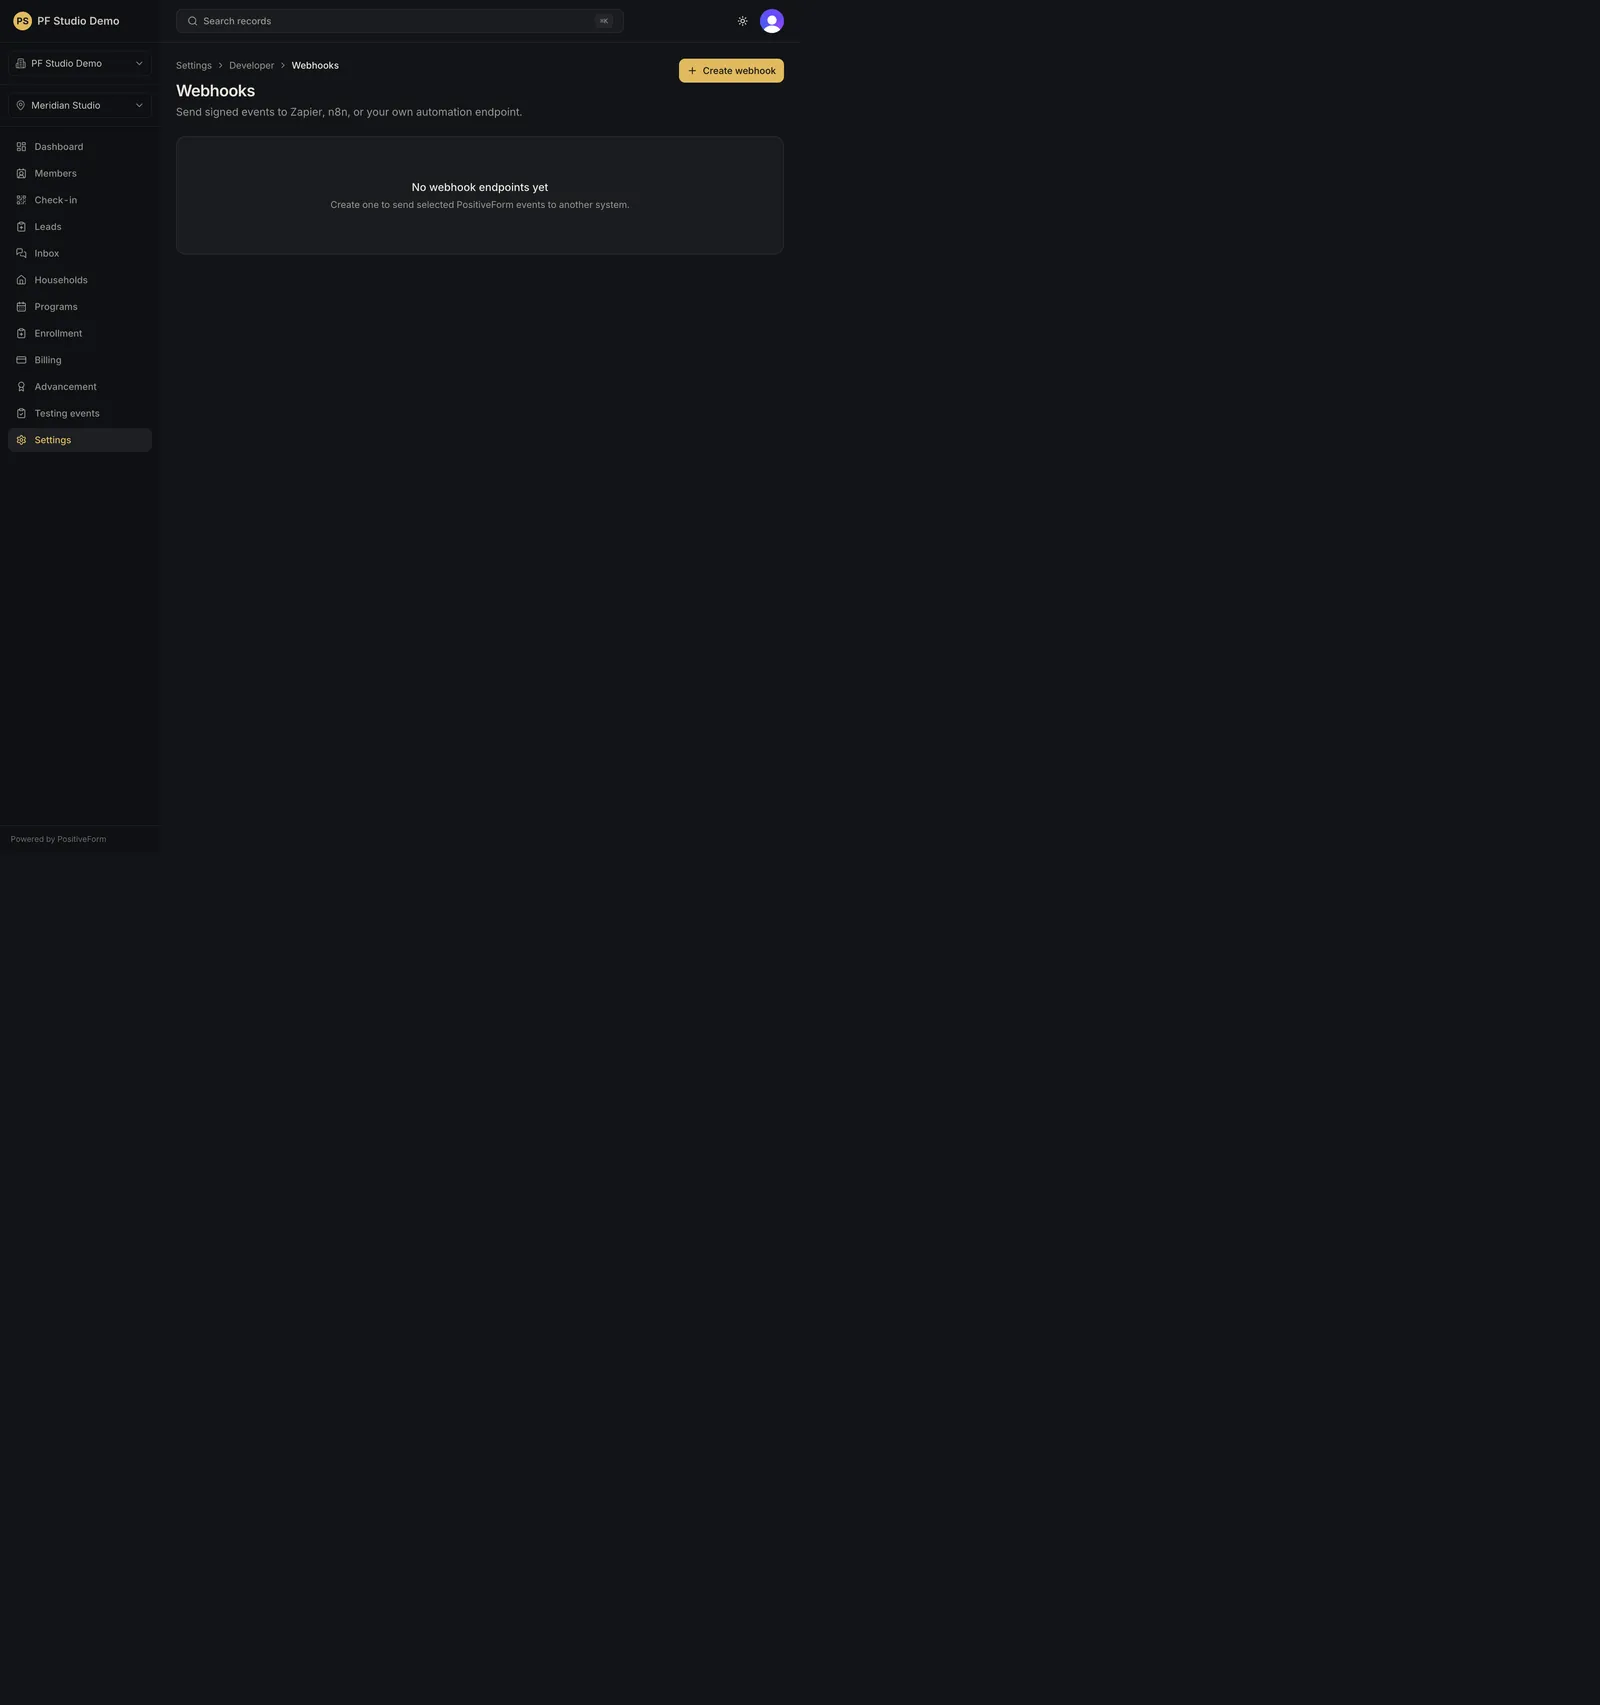
- Open Settings › Developer › Webhooks (
/settings/developer/webhooks). The heading is Webhooks. - Click Create webhook. Webhook details opens.
- Fill in Name and Endpoint URL.
- Under Events, tick each event this endpoint should receive.
- Under Locations, tick All locations or the individual locations. No selection keeps the endpoint Disabled.
- Click Create webhook. Store this signing key now appears with the generated signing secret; copy it into your receiver before leaving the page.
Operate the endpoint
- Open the endpoint from the list. Its page carries Endpoint settings for the same fields (Save changes), the Enable or Disable button beside the name, Test delivery with Send test, Signing key with Former key overlap and Roll key, and Remove endpoint with Archive endpoint.
- Roll key issues a replacement that becomes current immediately, and keeps the former key working for the overlap you chose (1, 6, or 24 hours) with one signature per key. Rolling asks you to re-authenticate.
- Recent delivery history at the bottom lists each delivery with its status, event type, attempt count, and HTTP response. A failed or canceled delivery carries Replay. Page through with Newer deliveries and Older deliveries.
- Use Developer in the breadcrumb to return to API keys if needed.
Expected outcome
Endpoint state and delivery/replay history are visible without turning the guide into a full integration test harness.
A verified-draft studio's endpoints stay disabled until the studio is activated, even with a location scope selected, and the form says so.
Screenshots
Recovery
If the endpoint reads Disabled and cannot be enabled, it has no locations. The page says so: choose All locations or at least one location, save, then enable it.
If PositiveForm reports the endpoint was automatically disabled after consecutive failed delivery attempts, fix the receiver, then enable and send a test.
If deliveries fail, open the endpoint for response codes and errors in Recent delivery history before rolling the signing key. Send test and Replay need the endpoint enabled.
If you cancel the re-authentication prompt while rolling, the signing key is not rolled.
Archive unused endpoints rather than leaving dead URLs active. Archiving keeps the delivery history.
Related guides
- API-001