Connect and verify Resend
Connect Resend and verify sending, receiving, and delivery webhooks. PositiveForm verifies each customer-managed channel and stores no secret in guide or run…
- Status
- Draft, not yet re-verified
- Who can do this
- Studio owners, Organization owners
- Required access
integrations.manage- Where in PositiveForm
/settings/integrations/resend
"Copy for AI" puts the full Markdown of this page on your clipboard. Paste it into ChatGPT, Claude, or any assistant and ask it to walk you through the steps.
Who this is for
This guide is for organization owners managing Resend email connection and verification.
Before you begin
- Owner access is required.
- Create API keys in Resend using Where to create a key if you do not have one yet. Never put the key in a support material.
- A Full access key lets PositiveForm discover your domains and manage Contacts and Segments. A Sending access key works too, but you enter the domain yourself and cannot manage contacts.
- To apply a branded layout to one-off lead and member messages, create and
publish that template in Resend first. It must contain the
MESSAGEvariable. Any other variables must either be one ofRECIPIENT_NAME,CONTACT_NAME,STUDIO_NAME, orSTAFF_NAME, or have a fallback in Resend.
Steps
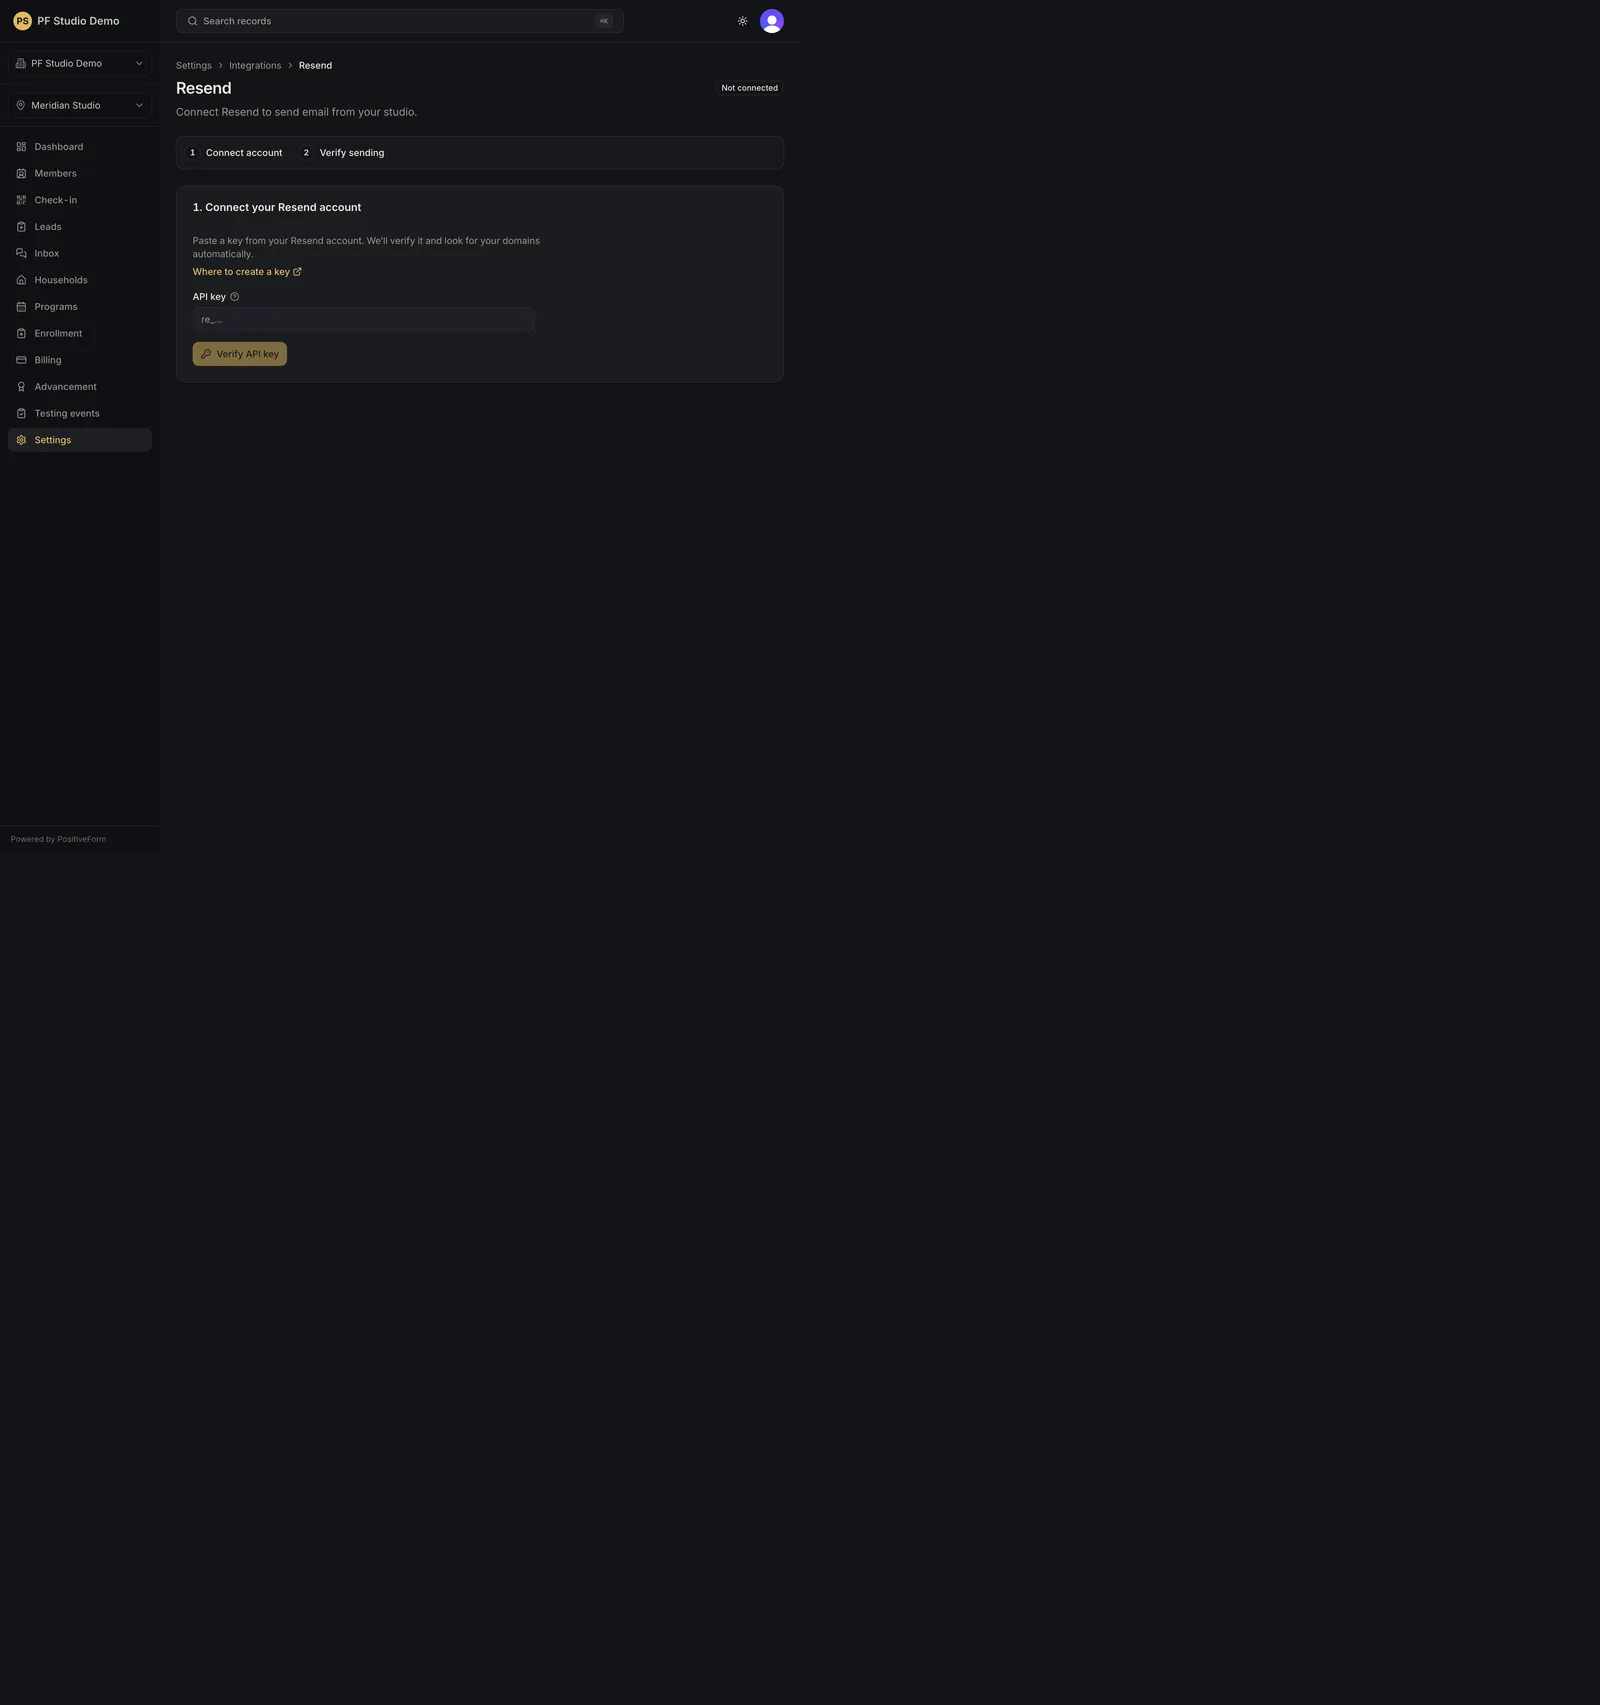
- Open Settings › Integrations › Resend (
/settings/integrations/resend). The heading is Resend, with a status badge beside it. Until the connection is ready, two step markers show progress: 1 Connect account and 2 Verify sending. - Under 1. Connect your Resend account, paste a key into the live API key field in the PositiveForm console (never into notes), then click Verify API key. A confirmation line shows the key prefix and whether domains were discovered.
- Under 2. Verify email sending, fill in Sending domain, From address, an optional Receiving subdomain, and a Send test to address you can check now. Click Verify and send test. Nothing is sent to members during setup.
- Once verified the page shows Email sending is connected with the from address and sending domain, an Independent delivery monitoring panel, and Send another test.
- Open Optional next steps › Delivery updates and replies to add the receiving domain, paste the Resend Webhook signing secret, and read the root forwarding address. A verified signed webhook event is required before marketing can be activated (Configure organization email marketing).
- Open Optional next steps › One-off email layout. Choose a published template under Default one-off message, then click Save one-off template. Choose No template · send plain text to clear the layout without disabling one-off email. A selected template that is not published is flagged, and one-off sends fail closed until it is published or cleared.
- Marketing automation and the member contact audience live on the same page and are covered by Configure organization email marketing.
- Return via the Integrations breadcrumb when finished. Optional next steps › Connection settings holds Verify new key and Disconnect Resend.
Expected outcome
PositiveForm verifies each customer-managed channel, uses the selected published layout for one-off previews, and stores no secret in support material. No secret is stored in support material.
Screenshots
Recovery
If verification fails, regenerate the key in Resend and verify again. If the
one-off layout is missing or incompatible, publish it with MESSAGE in Resend,
then reselect it and preview the message again. If the page says it could not
check the connection, retry rather than entering a second key: no key entry,
re-key, or disconnect is offered while the answer is unknown. If Independent
delivery monitoring reads Retrying, PositiveForm retries within 24 hours
on its own.
Related guides
- COMMS-001
- INT-003